Forms
Create public forms that add submitted information as records in a workspace.
Forms collect information from people inside or outside Blue. Each submission creates a record that you can route to a process step and assignee.
Watch this video for an overview of forms:
How Forms Work
Each form belongs to one workspace. A form adds records to the workspace database that holds the List field. In a blank workspace, this is the Records database. Workspace Owners, Project Administrators, and Team Members can create and change forms.
You can create an unlimited number of forms in each workspace. Each form can collect different information and route submissions to different process steps and assignees.
Each form has a unique link. Anyone with the link can open and submit the form without a Blue account. Blue creates a record for each submission.
Build a Form
In the form editor, drag fields from the left panel onto the form. The panel has two groups: Default Fields and Custom Fields.
The default fields available in forms are:
- Title: The record name.
- Description: A rich-text description.
- Tags: Options of the Tags field.
- Assignees: Workspace members assigned to the record.
- Start Date: The date when the record starts.
- Due Date: The date when the record is due.
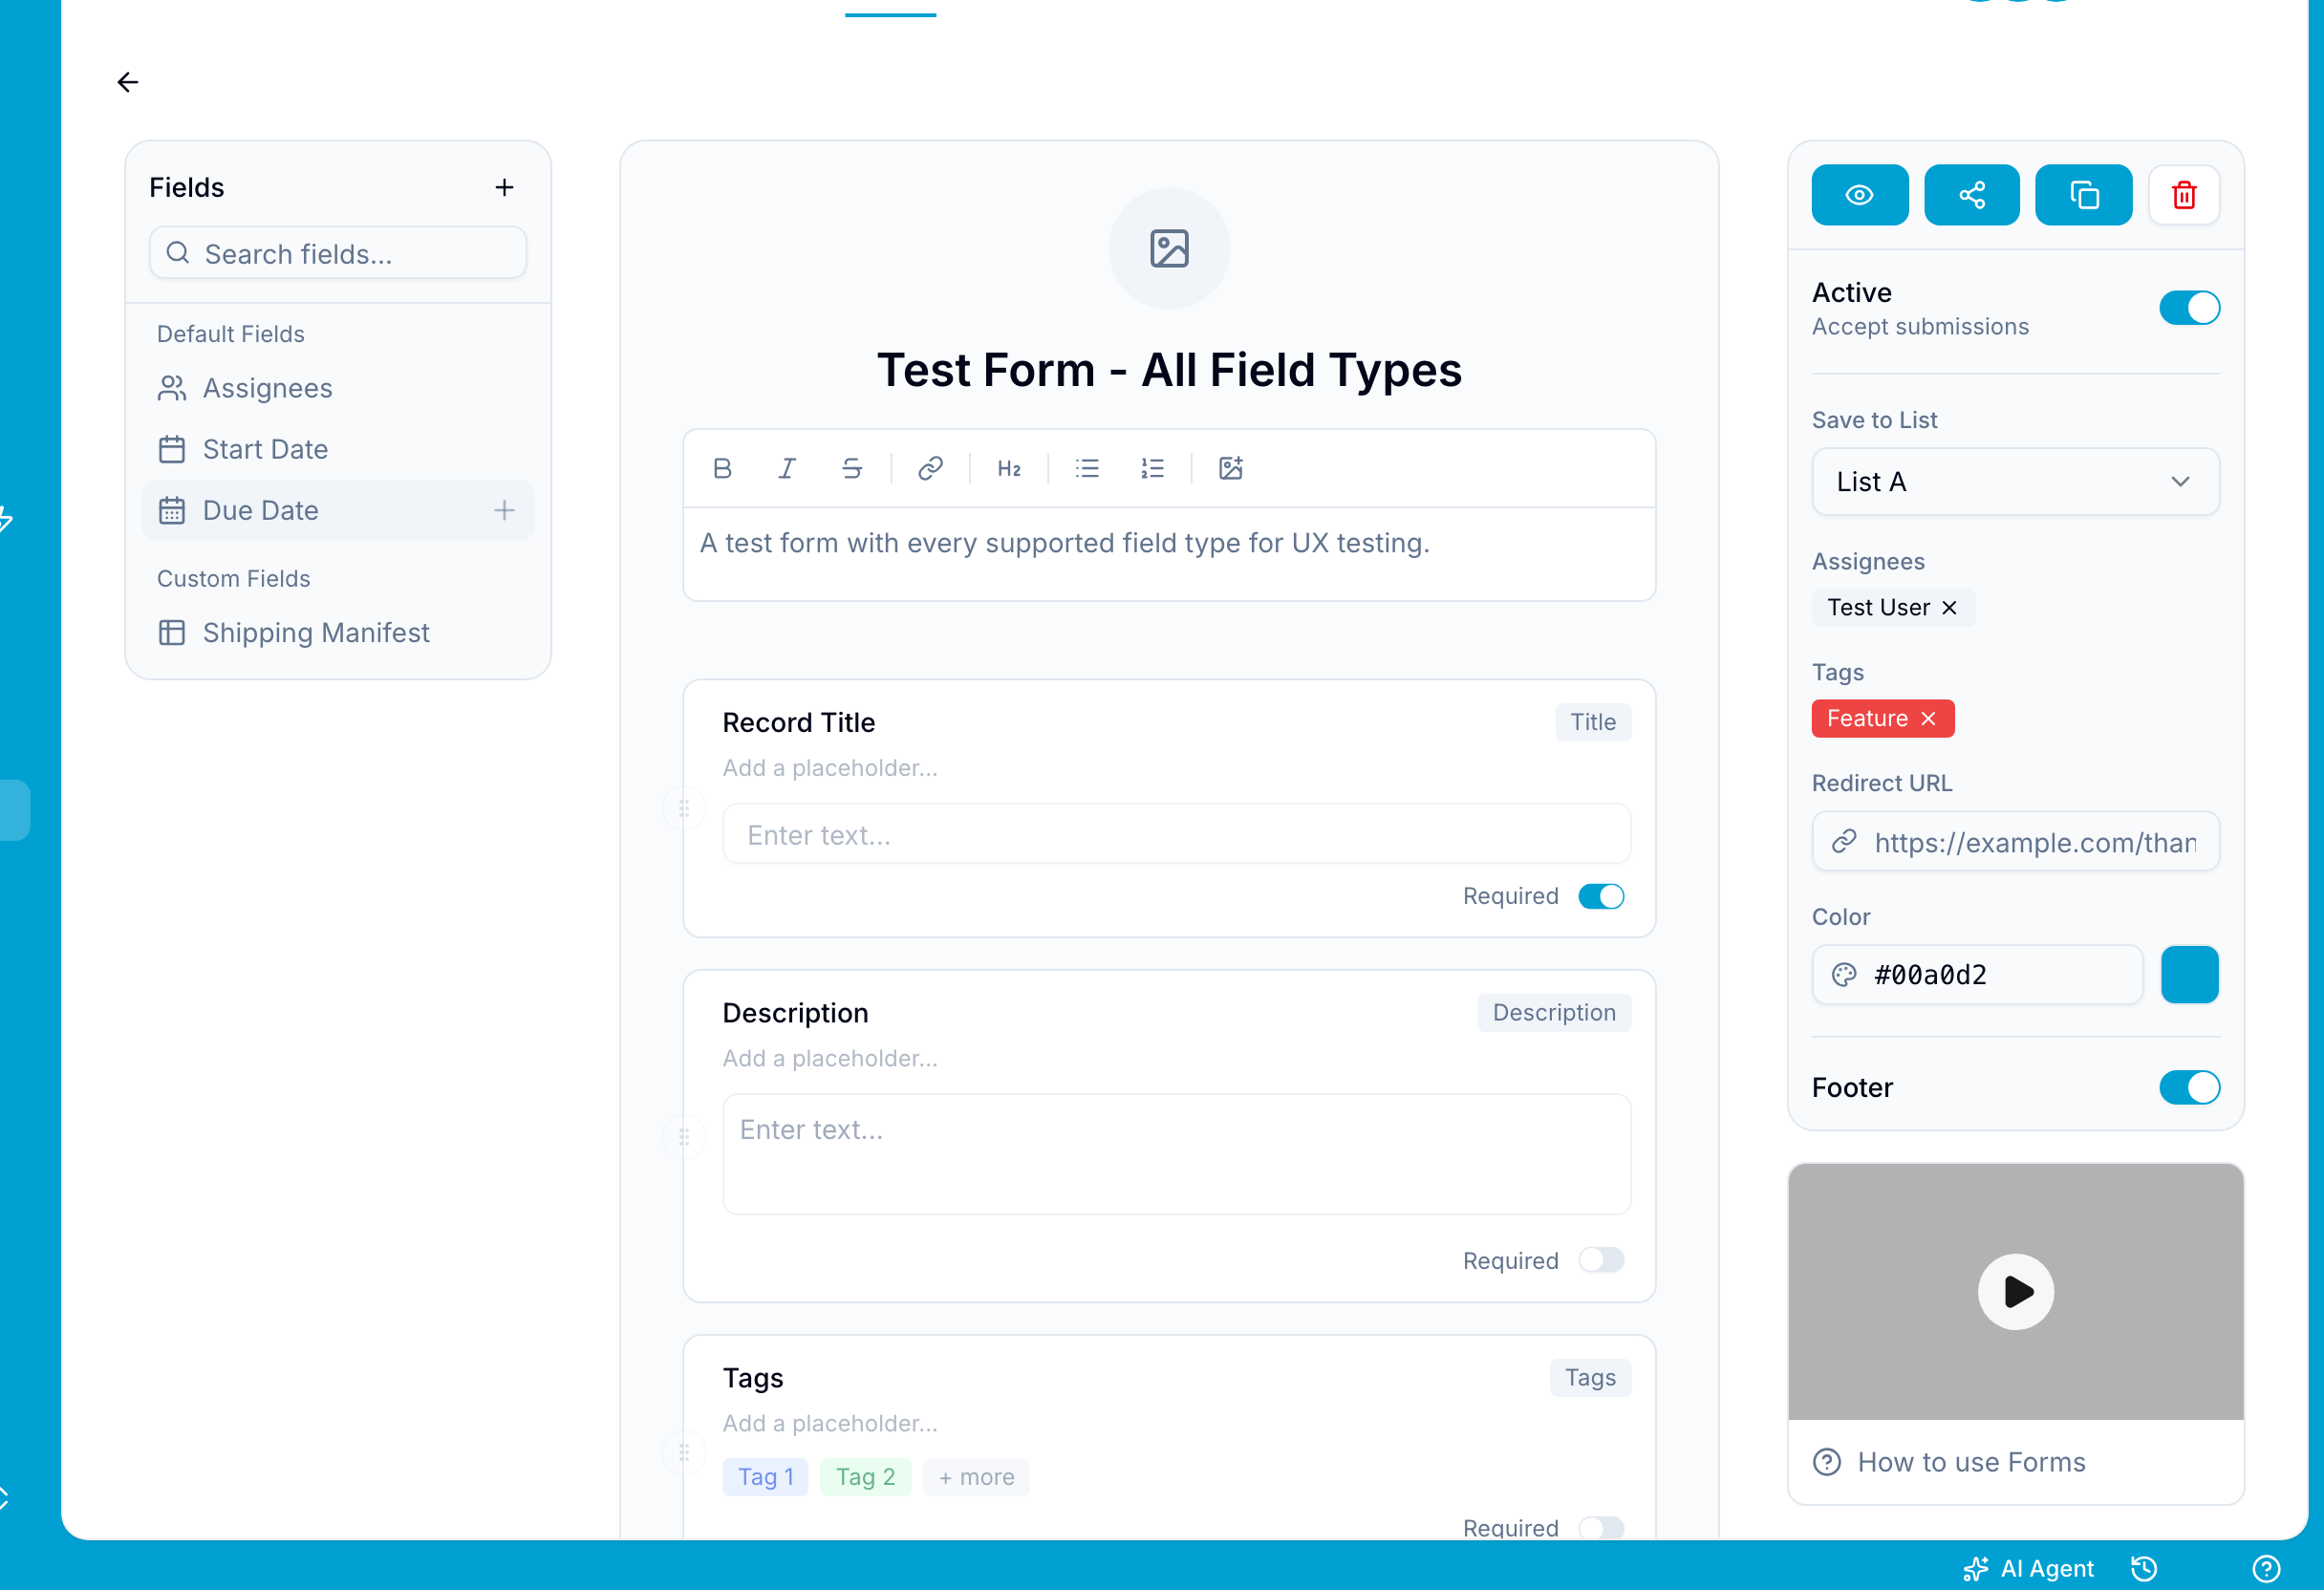
The following field types are available in forms:
| Field Type | Available in Forms? |
|---|---|
| Text (single line) | Yes |
| Text (multi-line) | Yes |
| URL | Yes |
| Currency | Yes |
| Country | Yes |
| Date | Yes |
| Select (single) | Yes |
| Select (multi) | Yes |
| Location | Yes |
| Phone | Yes |
| Yes | |
| Rating | Yes |
| Checkbox | Yes |
| Number | Yes |
| Percent | Yes |
| File | Yes |
| Reference | Yes |
| Assignee | Yes |
| Table | Yes |
| Formula | No |
| Unique ID | No |
| Lookup | No |
| Time duration | No |
| Currency conversion | No |
| Button | No |
Each field can have a title and description. You can also make a field required for submission.
Assignee Dropdown
Add the default Assignees field or another Assignee field. The submitter can then select a workspace member from a dropdown.
In the field settings, restrict the dropdown to specific users or roles when only part of the team should receive submissions.
Tags in Forms
Add the Tags field to let submitters apply one or more tags to the new record. You can limit the dropdown to selected tags.
Customize a Form
Form Logo
Select the default image at the top of the form canvas to set a form logo.
Form Descriptions
Use the rich-text description below the title to give submitters more information. The description supports text, images, videos, and files.
Route Submissions
Select a process step in Save to List. The list is an option of the List field. You can also add Assignees and Tags.
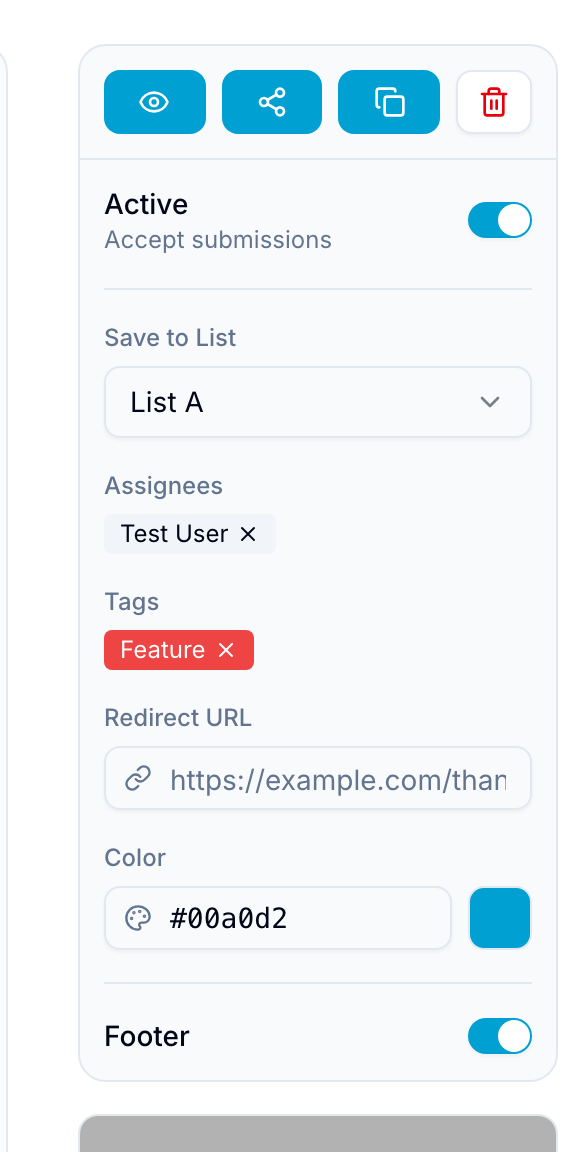
In this example, the form sends records to List A, assigns Test User, and adds the Feature tag.
Thank You Message
Set Thank you message in the form editor’s right sidebar to control the text the submitter sees after they send the form. If you leave it empty, Blue shows Your submission has been received.
The message is shown whether or not a Redirect URL is set, because Blue displays it briefly before the redirect starts.
Redirect URL
To send the submitter to your website after they submit, set Redirect URL in the form editor’s right sidebar.
To send a follow-up email, see Confirmation Emails.
Primary Color
Forms use Blue’s default color for the submit button and page background. Change Color in the right sidebar to use another color.
Form Footer
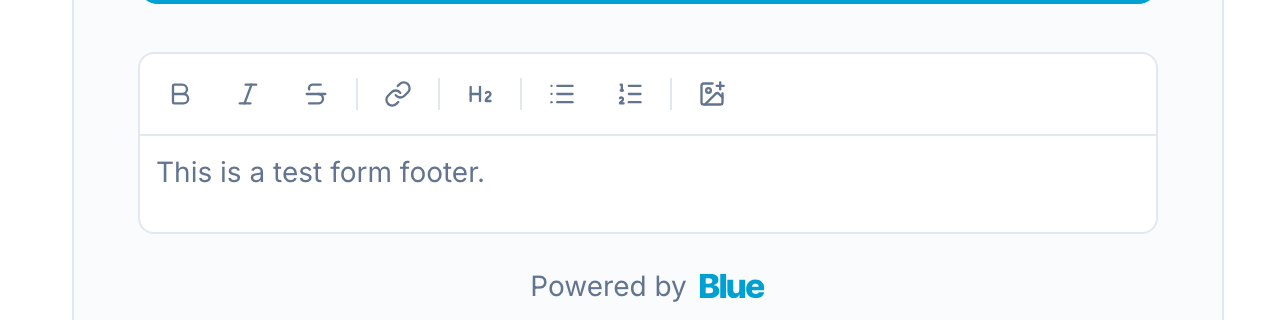
The optional form footer is a rich-text field that appears below the submit button on the public form.
Use it for terms and conditions, privacy policies, notices, social links, or contact information.
Blue Branding
Forms show a Blue logo at the bottom by default. Pro and white-label plans can hide the logo from the same right sidebar.
Share a Form
Share a form with its link, QR code, or embed code.
Link & QR Code
Copy the form link and send it by email, publish it on social media, or add it to a website.
You can also download a QR code for the link. For example, attach a printed QR code to equipment so users can scan it and submit a support request.
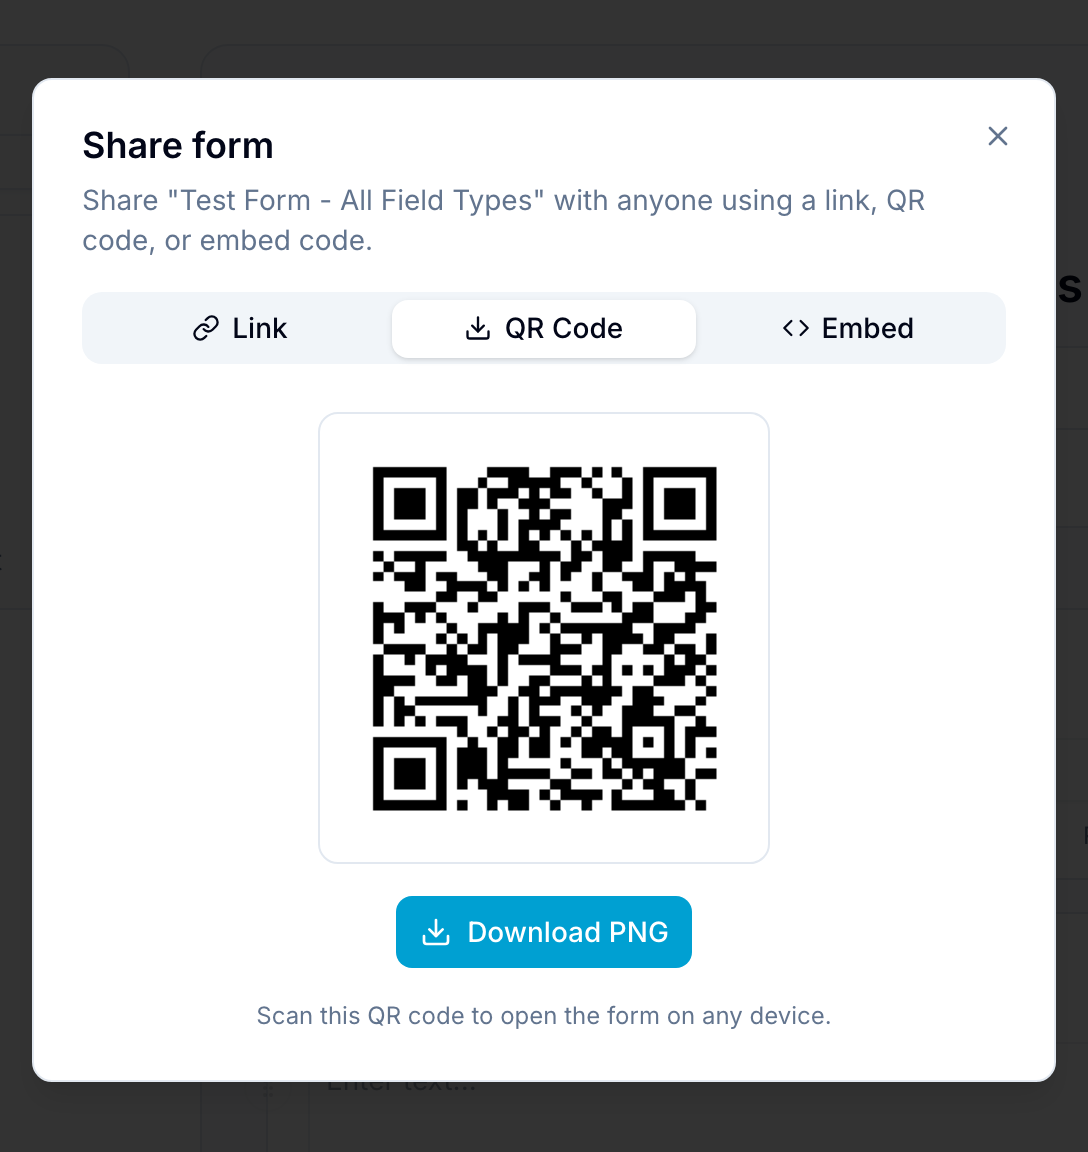
Select Download PNG to save the QR code, or open Link to copy the URL.
Website Embedding
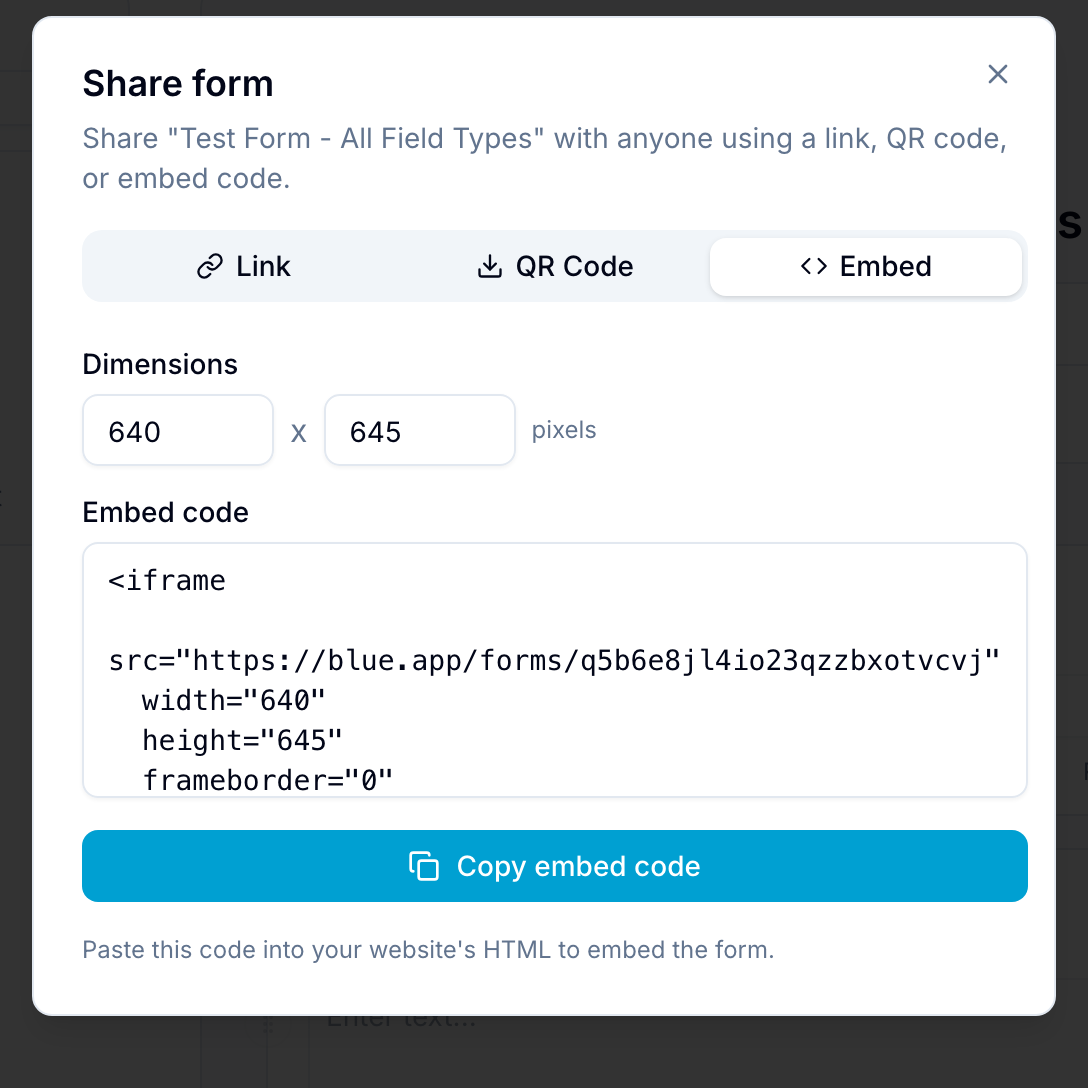
Blue generates embed code for each form. The code uses an iframe, an HTML element that displays the form within a web page.
Open Embed, copy the code, and add it to your website. You can keep the default iframe width and height or change them for the page layout.
Copy a Form
When you copy a form to another workspace, Blue copies its structure and settings. Blue does not copy the form’s fields directly.
If the destination has fields with the same names and types, Blue connects those fields to the copied form. Create the required matching fields in the destination workspace.
Use Forms with Automations
Forms work with automations. To run an automation after a form submission, use the trigger for a new record.
Confirmation Emails
To send a confirmation or thank-you email, add an Email field to the form. Then create an email automation that sends to the submitted address.